Think AI Can't Handle 3D? Think Again.
Claude Code doesn't understand 3D space, but by creating a screenshot feedback loop, it can iteratively refine 3D models without any human intervention. Developer Dave Snider, who built two 3D web apps, shared his workflow: auto-capture with Playwright → AI analyzes screenshots →...
The biggest challenge when building 3D projects with Claude Code is that AI doesn't understand three-dimensional space. It handles CSS and colors quite well, but spatial instructions like "place this box on top of that tray" fail every time. Developer Dave Snider, who personally built two 3D web apps, published a practical workflow to solve this problem on his blog, and it's gaining traction on Hacker News.
Giving AI 'Eyes' with a Screenshot Loop
The core idea is simple: If AI can't directly understand 3D, show it screenshots.
Snider initially worked by manually taking screenshots and telling Claude, "Look at this — it's wrong." But this approach required hours of back-and-forth conversation. The bottleneck was having a human manually capture screens and provide feedback.
The solution was building an automated loop where AI takes its own screenshots, analyzes them, and fixes the code. He created a script using Playwright (a tool for programmatically controlling browsers) to capture the 3D app's screen, and instructed this loop in Claude Code's CLAUDE.md file.

Counter Slayer — A web app for designing 3D-printable trays for board game components. AI reads screenshots of this screen and modifies the 3D models.
The 6-Step Iteration Loop — Put It in CLAUDE.md and AI Runs It Automatically
Here's the workflow Snider put in the Counter Slayer project's CLAUDE.md:
1. Modify 3D model code (lid.ts, counterTray.ts, box.ts)
2. Regenerate STL files:
npx tsx scripts/generate-geometry.ts3. Capture screenshot:
npx tsx scripts/capture-view.ts --angle iso4. Check position & layout data in project.json
5. Verify from multiple angles, zoom into problem areas
6. If correct, report to user / If wrong, go back to step 1
The key is that it repeats "without user intervention." AI fixes the code → renders the result → validates its own work via screenshots → and keeps iterating until it's satisfied.
How to Give AI a Camera
In 3D work, looking from just one angle means missing problems. Snider built tools that let AI freely move the camera and check results from multiple angles.
npx tsx scripts/capture-view.ts --angle iso
npx tsx scripts/capture-view.ts --angle top
npx tsx scripts/capture-view.ts --angle front
# Zoom in for closer inspection
npx tsx scripts/capture-view.ts --angle left --zoom 3
# View from a custom position looking at a specific point
npx tsx scripts/capture-view.ts --pos "100,80,150" --look-at "0,25,50"
# Isolate and view a specific component
npx tsx scripts/capture-view.ts --trayId nrme206 --angle bottom --zoom 2
It supports 10 preset angles — isometric, front, top, left, right, back, and more — plus free camera positioning. When AI decides "let me zoom in on the bottom of this tray," it automatically executes the appropriate command.
Two Real Apps Built with This Method
Snider completed two 3D web apps using this workflow:
Counter Slayer — A tool for designing 3D-printable trays to organize board game pieces and cards. You can arrange compartments of various shapes — hexagonal, square, circular — and it auto-generates a box with a perfectly fitting lid. Export is available in STL format (3D printer file).
Table Slayer — A tool that displays battle maps on a TV during TRPG (tabletop role-playing game) sessions. Features like fog effects, weather, and time-of-day changes can be controlled as easily as Google Slides.
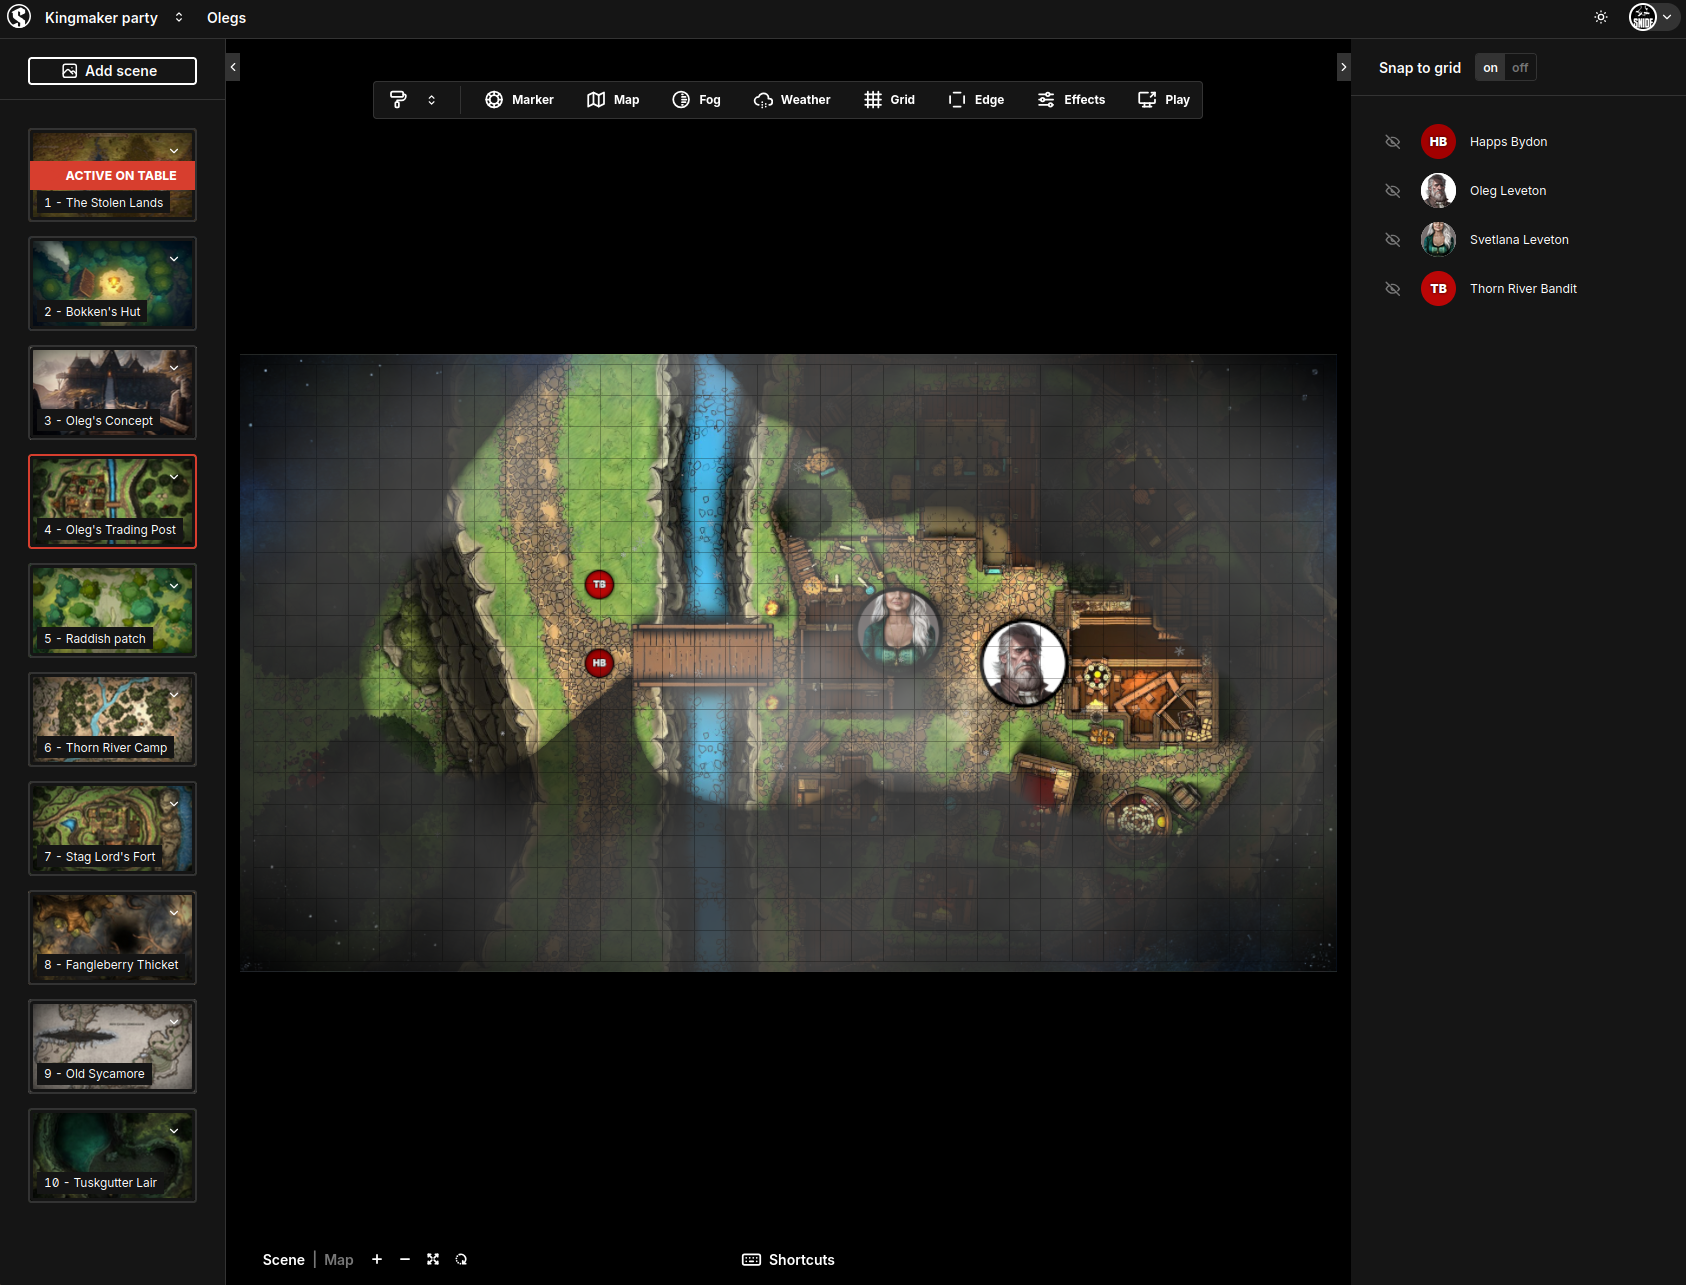
Table Slayer — A web app that displays TRPG battle maps on TV. This was also built using Claude Code's screenshot loop for 3D work.
"Don't Expect AI to Understand You — Build a Shared Language"
Here's the core philosophy Snider emphasizes:
"Instead of expecting AI to understand my requests, I first build tools that create a shared language for discussing the project. The screenshot loop is exactly that shared language."
Claude Code claims it can read STL files (3D printing files), but in reality, it fabricates binary content. You could install Python libraries to read them, but the issue is usually in the code that generates the 3D model, not in the output file.
That's why the most effective approach is rendering the actual app → capturing the screen → showing it to the AI. Another key technique is placing red spheres as debug markers in 3D space to establish position reference points.
A Pattern That Works Beyond 3D
This screenshot loop pattern isn't limited to 3D work. It can be applied to any task where AI needs to visually verify results.
Applicable areas:
• Web design — Capture responsive layouts at multiple resolutions and let AI fix the CSS
• Charts & graphs — Capture data visualization results and let AI fine-tune the appearance
• Game development — Capture UI element placement or character animations for debugging
• PDF/document generation — Capture output results and let AI correct the layout
How to Apply This Yourself
To apply this workflow to your own project, you need three things:
1. A capture script — Create a script using a browser automation tool like Playwright to save the current screen as an image.
2. Loop instructions in CLAUDE.md — Specify the sequence: "modify code → capture → analyze → repeat." The key instruction is "repeat without user confirmation."
3. Debug markers — Add visual reference points (red dots, grid lines, etc.) that help AI determine positions.
The complete CLAUDE.md file for Counter Slayer is available on GitHub. It includes detailed documentation of 10 camera angles, coordinate system explanations, and debug file structure — making it a great reference for your own projects.
If you'd like to learn more about AI and vibe coding, check out our Free Learning Guide.
Related Content — Get Started with AI | Free Learning Guide
Sources
Stay updated on AI news
Simple explanations of the latest AI developments